My Apps
Overview
The My Apps area is where you can manage all the applications you’ve created in Qodly, including paid applications and any cloned from the Sandbox environment. This area provides access to essential management options, configuration settings, and monitoring tools, enabling you to control every aspect of your applications.
Creating a New Application
To create an app in the Console, follow the steps below, using the provided screenshots for guidance. Each step includes specific details on the configuration options available during setup.
Step 1: Navigate to "My Apps"
- Go to the My Apps section in the Console.
- Click the New App button on the right side of the page or in the sidebar to begin the application creation process.

Step 2: Choose a Template
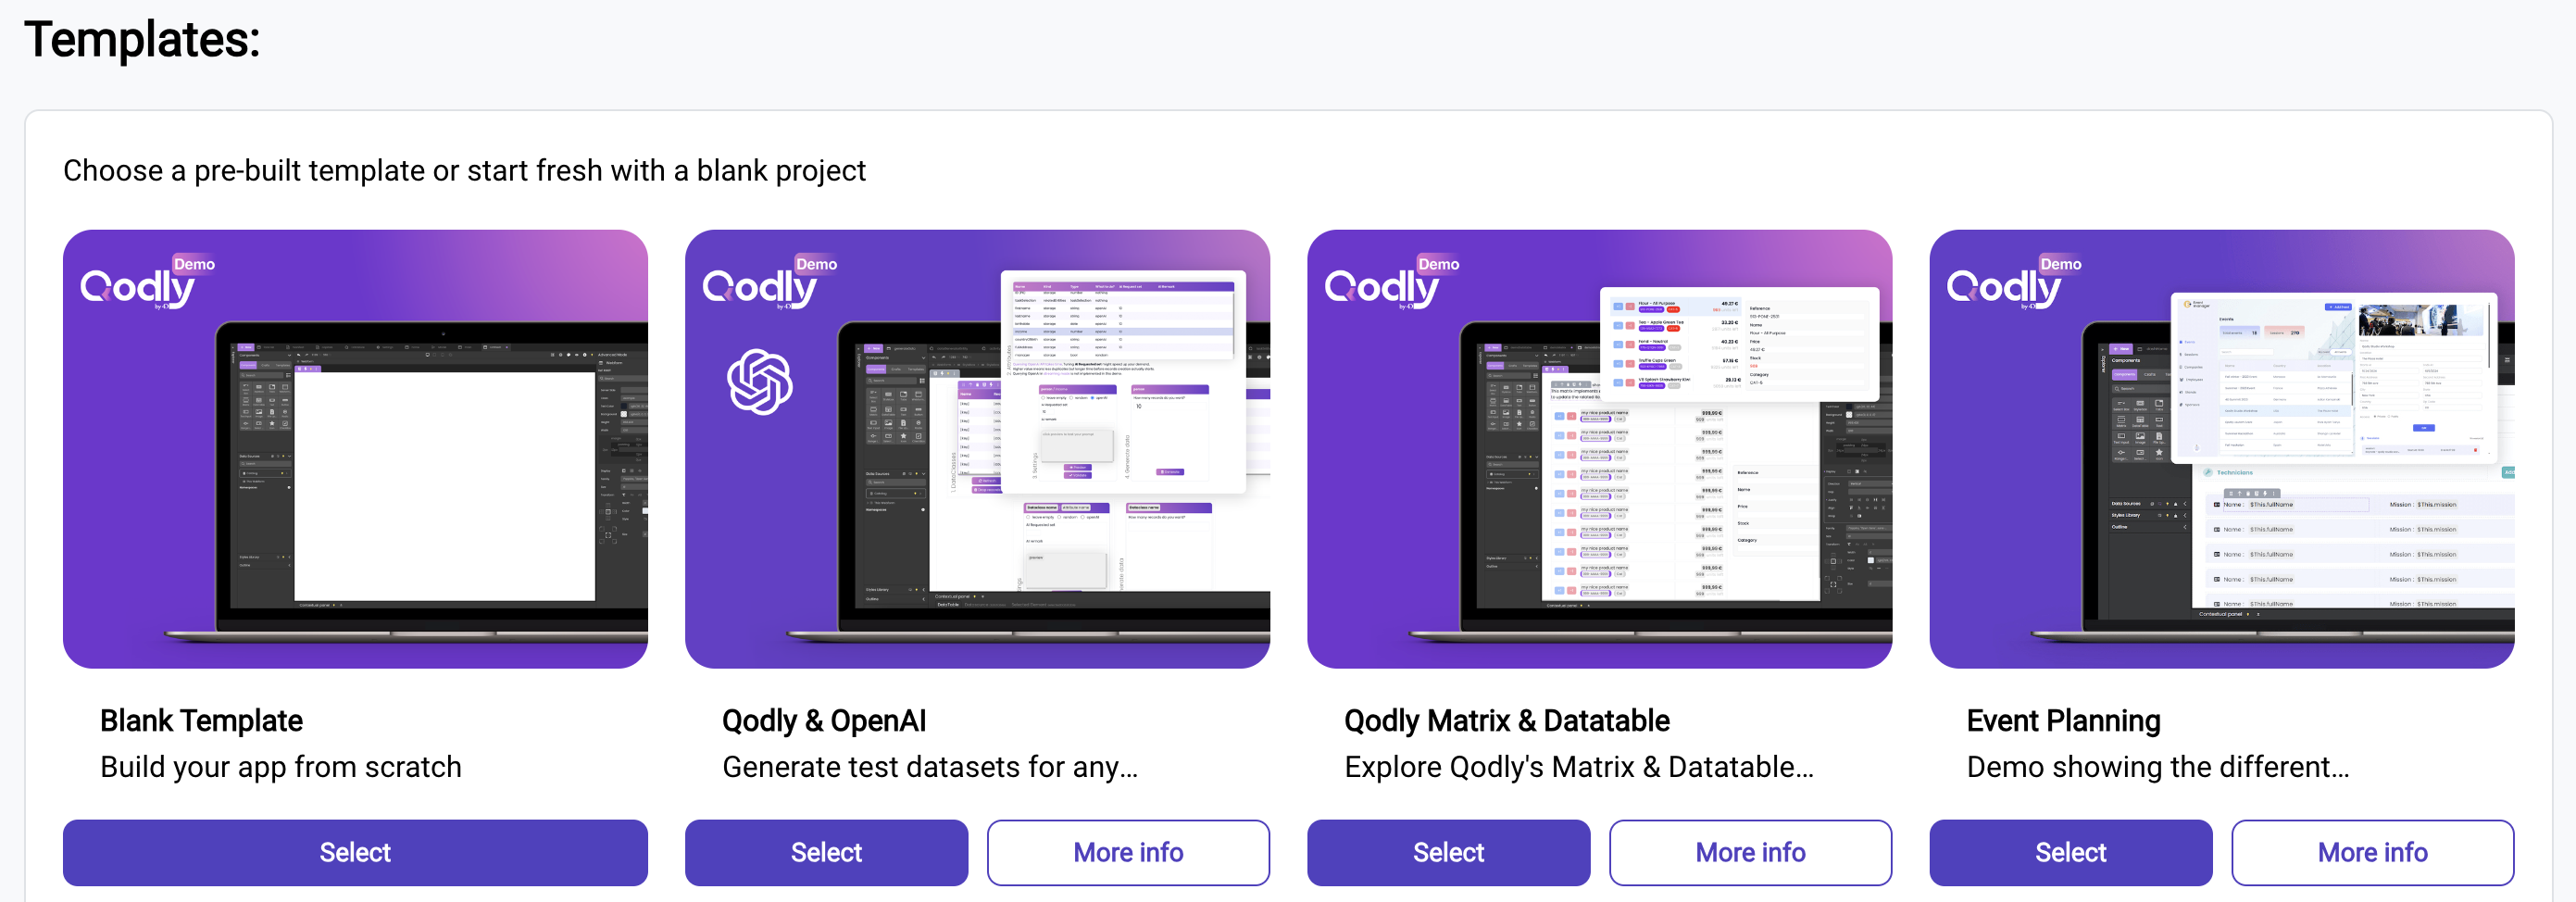
After selecting New App, you’ll be directed to the Template Selection page, where a variety of templates are available to serve as starting points.
- Browse through the list of templates to find one that fits your project needs. Templates come with pre-configured code and settings suited for different types of projects.
-
Blank Template: If you prefer a completely custom setup without any pre-built code, select the Blank Template.
-
More Info: Click More Info under a template to view additional details, such as images, a description, author information, and the supported language.
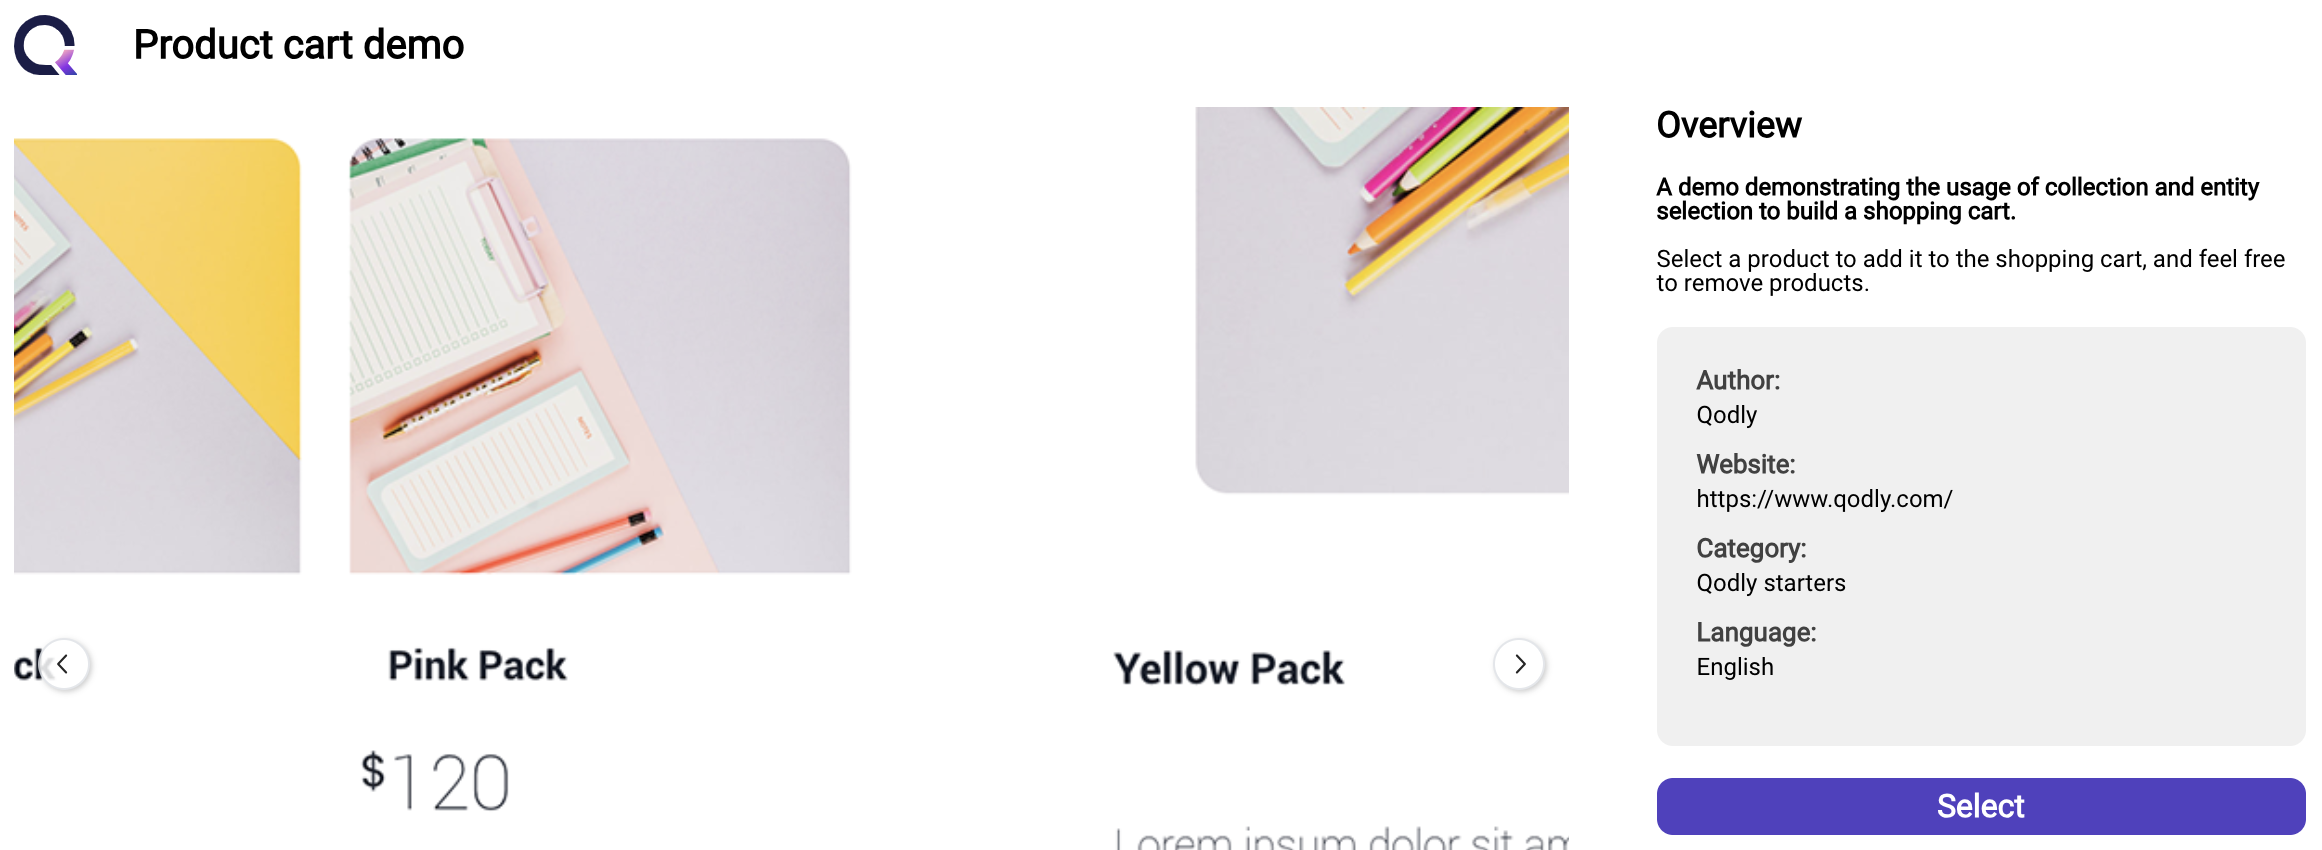
- Once you’ve chosen a template, click Create to proceed.
Step 3: Configure Application Details
You’ll now enter the Application Configuration page, where you’ll provide essential information and allocate resources for your new app, like:
-
Application Name: Enter a unique name for your application. This name will be visible in the Console and can be updated later if needed.
-
Field: Select the global domain or purpose of your application (e.g., "E-commerce" or "Project Management").
-
Description: Provide a short description of your app’s purpose to help identify it within the Console.
-
Tags: Add tags to categorize your app. This feature is useful for organizing and searching for applications. To add a tag, type it in and press Enter.

Environment Configuration
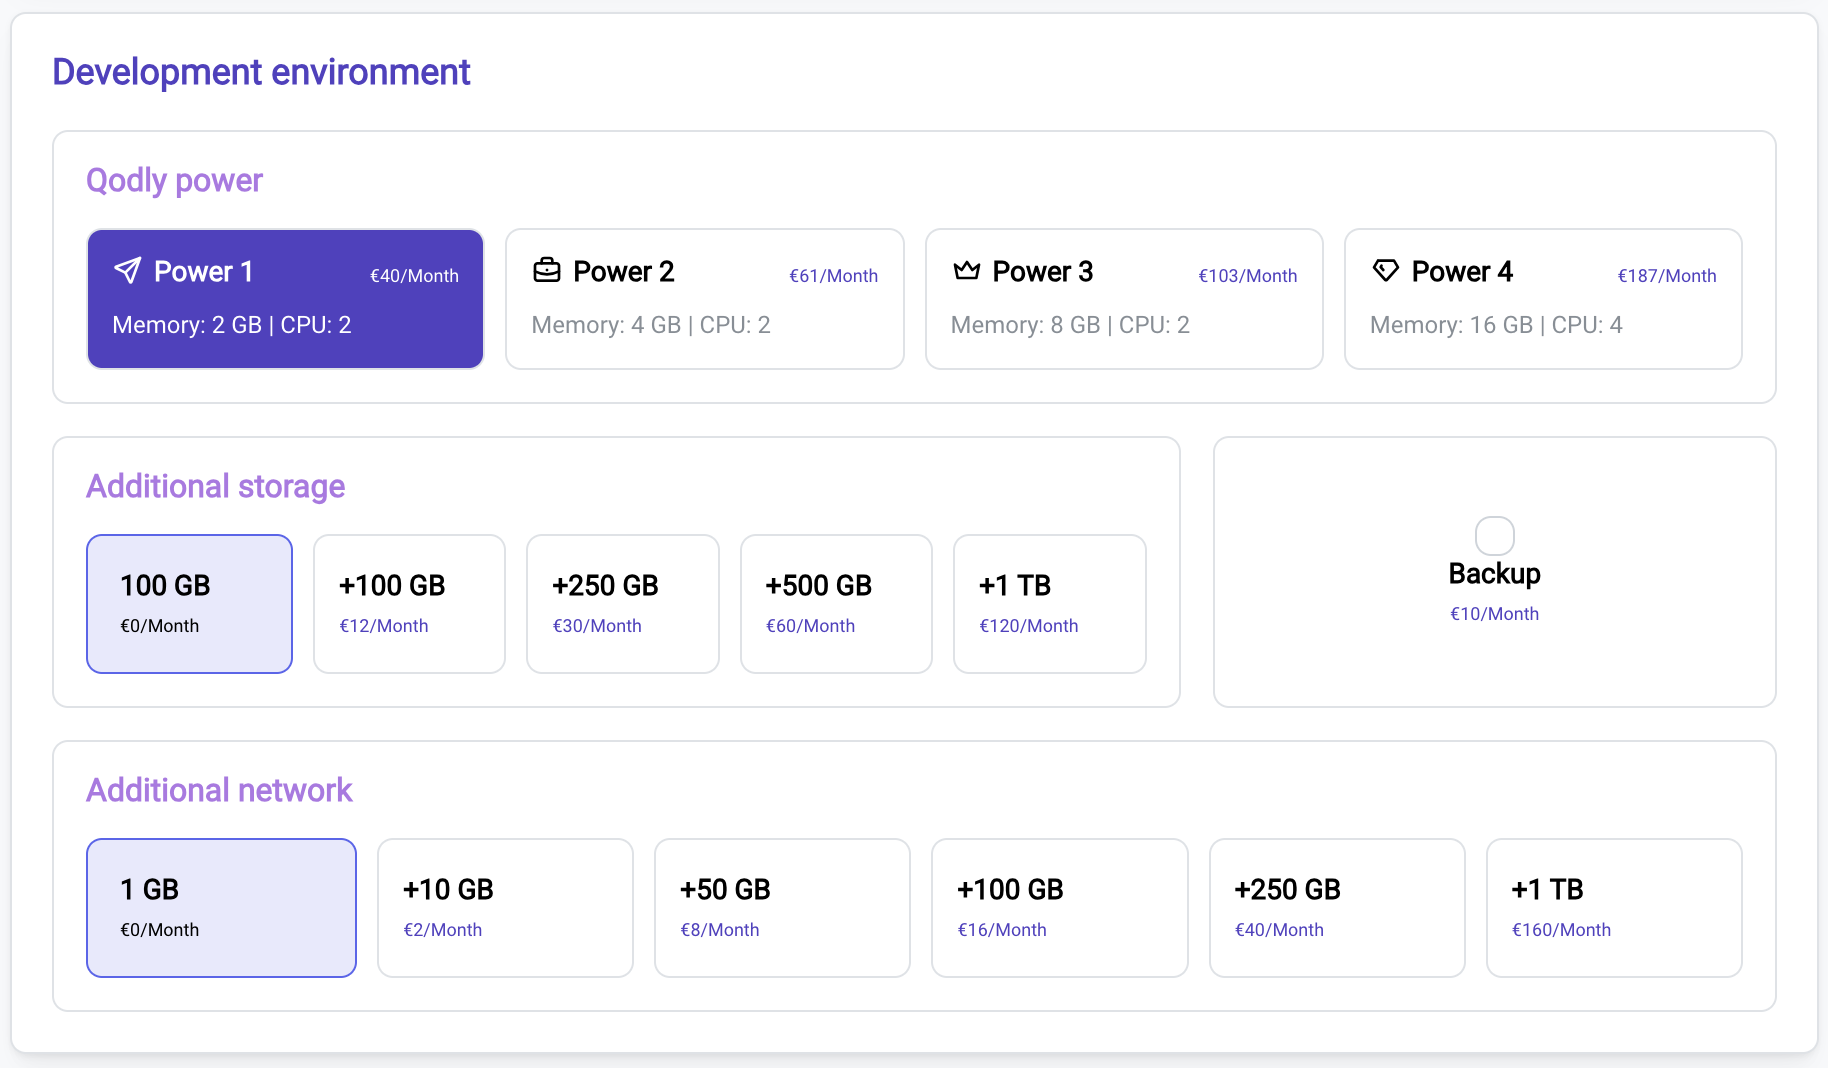
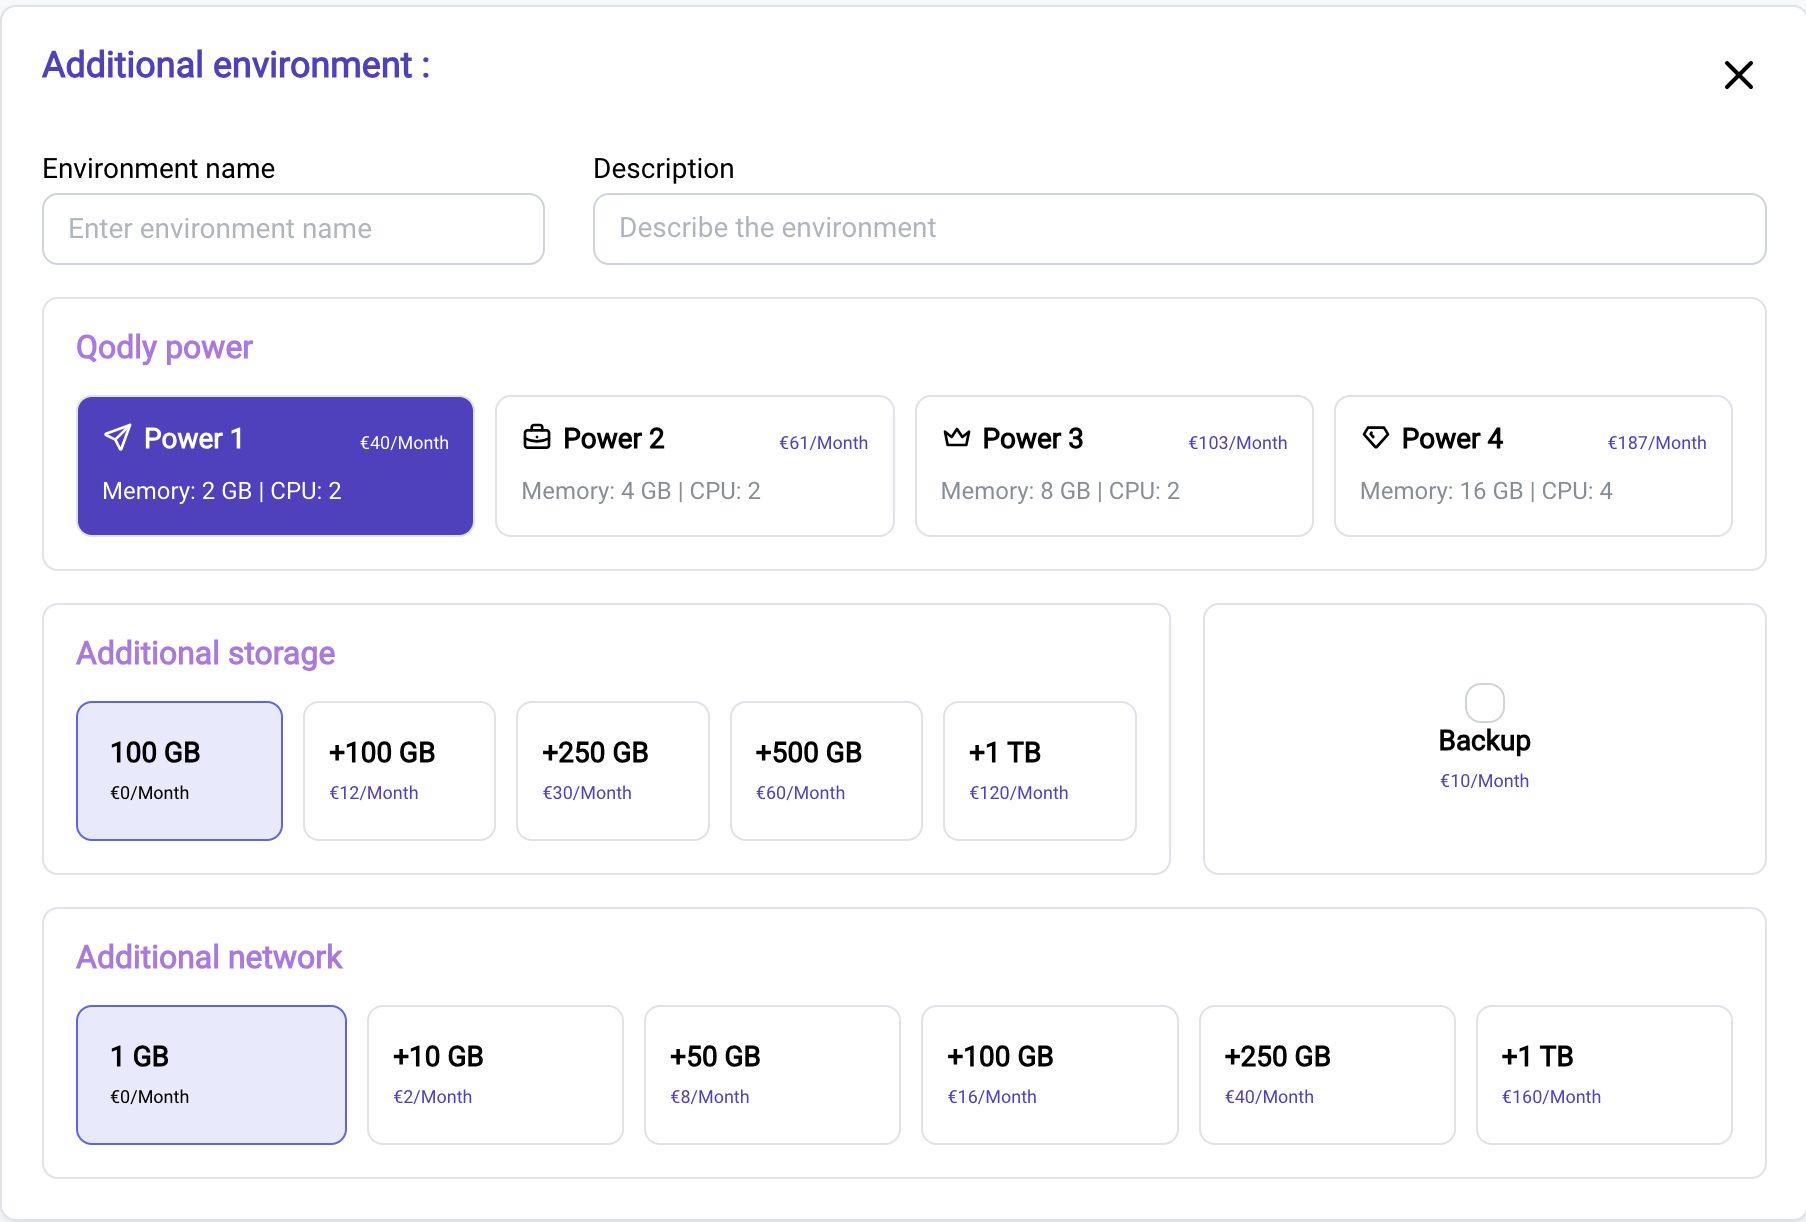
The next section allows you to configure resources for each environment associated with the app. By default, only the Development Environment is available.
-
Qodly Power: Choose the required computing power for your environment. Options vary by memory and CPU configurations (e.g., Power 1 with 2 GB memory and 2 CPU, Power 2 with 4 GB memory and 2 CPU).
-
Storage: By default, you receive 100 GB of free storage. Additional storage can be added based on the anticipated needs of your app.
-
Backup: Enable the backup feature if needed. By default, backups are not available but can be purchased as an add-on based on the storage size.
-
Network: Configure the data transferred over the network. The default allocation is 1 GB, with options to add more data if your application requires it.
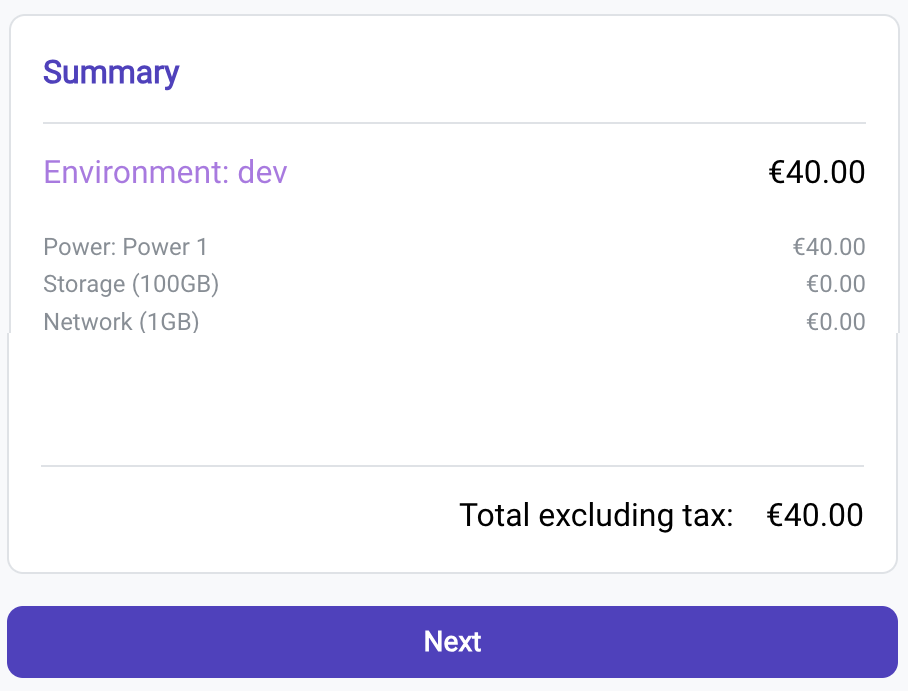
As you make selections for each environment resource, the total estimated cost will be displayed on the upper-right side of the page, allowing you to budget effectively.
Adding Additional Environments
- Click the Add Environment button if you want to configure deployment environments like Staging or Production.

- For each new environment, provide a Name and a Description.
- Customize the configuration separately for each environment, allowing you to tailor resources to specific development stages.
Step 4: Finalize Billing
Upon creating an app, you are prompted to finalize billing by choosing one of two options:
-
Option 1: Pay on Your Own: Cover the app’s expenses using your own payment method.

-
Option 2: Transfer Ownership: Invite someone else to take responsibility for the app's subscription.

Option 1: Pay on Your Own:
If you decide to cover the application expenses yourself, you will be guided through a billing and payment process:
-
Billing Details Page: This page allows you to enter or update the billing details required for the subscription. Once your information is complete and verified, click Proceed to Payment to move to the next step.
-
Secure Payment Page: On this page, you will securely enter your payment details to finalize the subscription. Once all details are complete, click Submit to process your payment.
Option 2: Transfer Ownership:
If someone else will be responsible for the payment, you can transfer ownership of the application to them. Here’s how this process works:
- Enter the email of the person who will pay for the subscription.

The system ensures you cannot send the invitation to your own email address, displaying an error if attempted.
- Once the invitation is sent, the app is moved to the Invitations Awaiting Response section until the recipient accepts the invitation.

This section displays all pending invitations for transferring app ownership. For each invitation, the following actions are available:
-
Resend Invitation: Re-send the request to the recipient.
-
Cancel Invitation: Remove the request if no longer needed.
-
The invited individual will receive an email with a link to accept the ownership transfer. Once they accept:
-
They will gain full ownership of the application.
-
They will proceed to fill out their billing details and complete the payment.
-
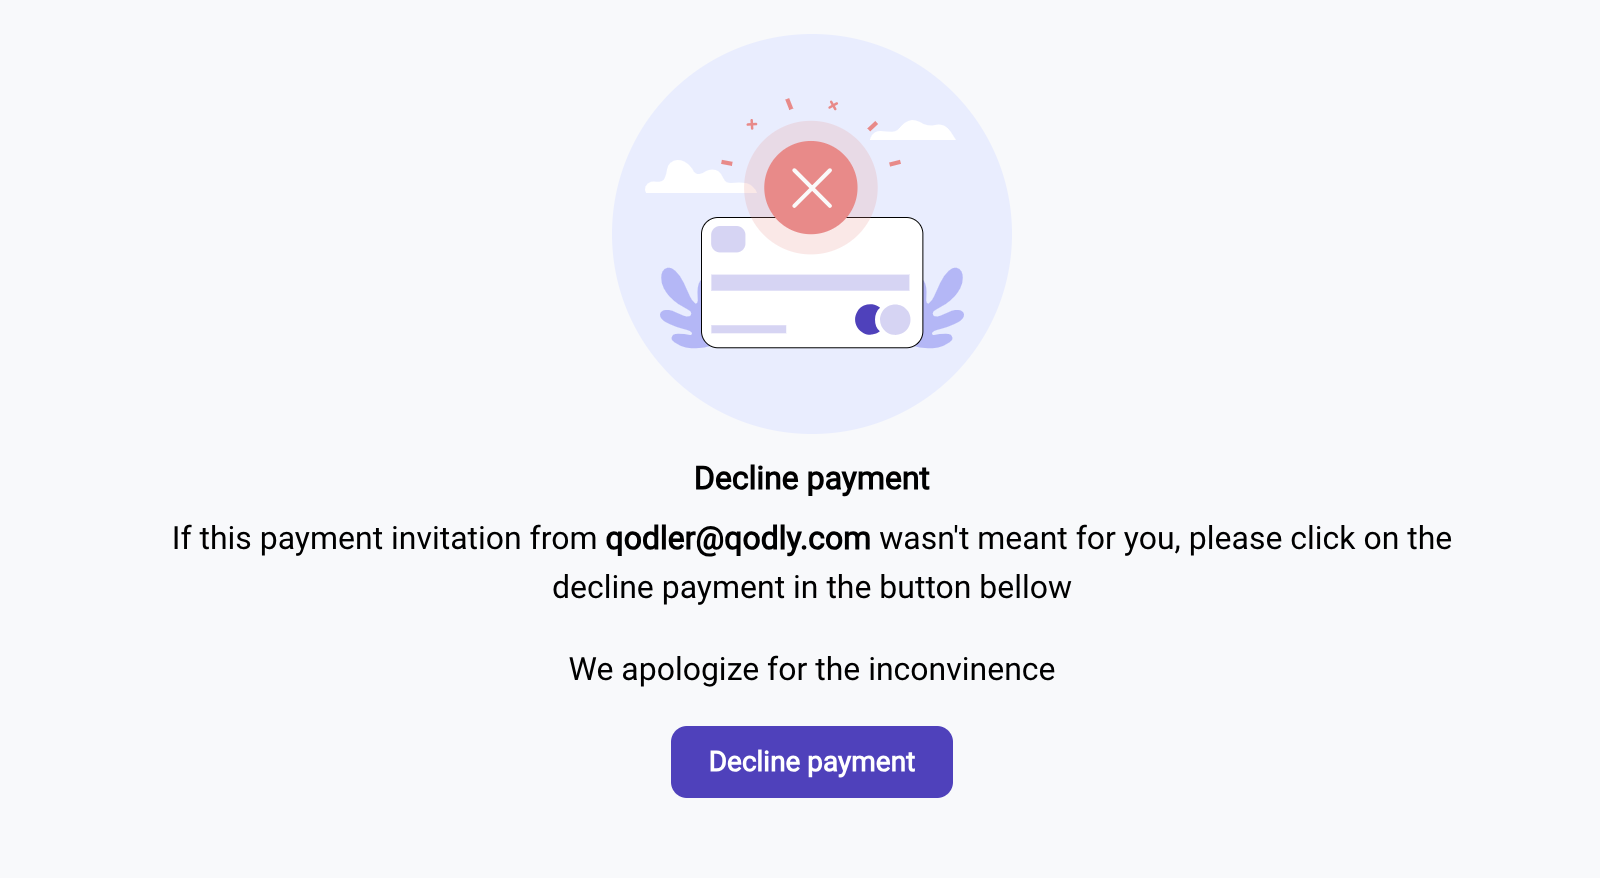
If the recipient chooses to decline:
- They are shown a Decline Payment page, allowing them to reject the invitation.
- Upon declining, the app is permanently deleted, and both parties are notified.
Step 5: Access Your New App
After completing the configuration and payment steps:
- Your development environment will be created, and the app will be listed under My Apps.
- Studio Access: You’ll see an option to open the app in Qodly Studio, where you can start building and customizing your application.
Once created, the application will appear in the My Apps list. This list, displays all applications you have created, excluding the Sandbox environment.